How to configure your own Azure Blob Storage for PDF form submissions

As an alternative to using your S3-compatible storage, you can use your Azure Blob Storage to store documents and filled documents.
You may be interested in bringing your own storage (BYOS) for various reasons, such as such as compliance to specific rules in your country or industry or because you wish to retain full ownership over your data.
How the upload works
If you're interested in the overall upload mechanism and security-model, head over here where we cover this mechanism for the s3-compatible storage. The Azure Blob Storage works identically.
The gist is that the upload mechanism happens on the client, with the server only exchanging upload and download links: this ensures that your documents do not ever transit via the SimplePDF servers.
How to configure your own Azure Blob Storage
Configuring your own Azure Blob Storage is available with the PRO plan
In Azure
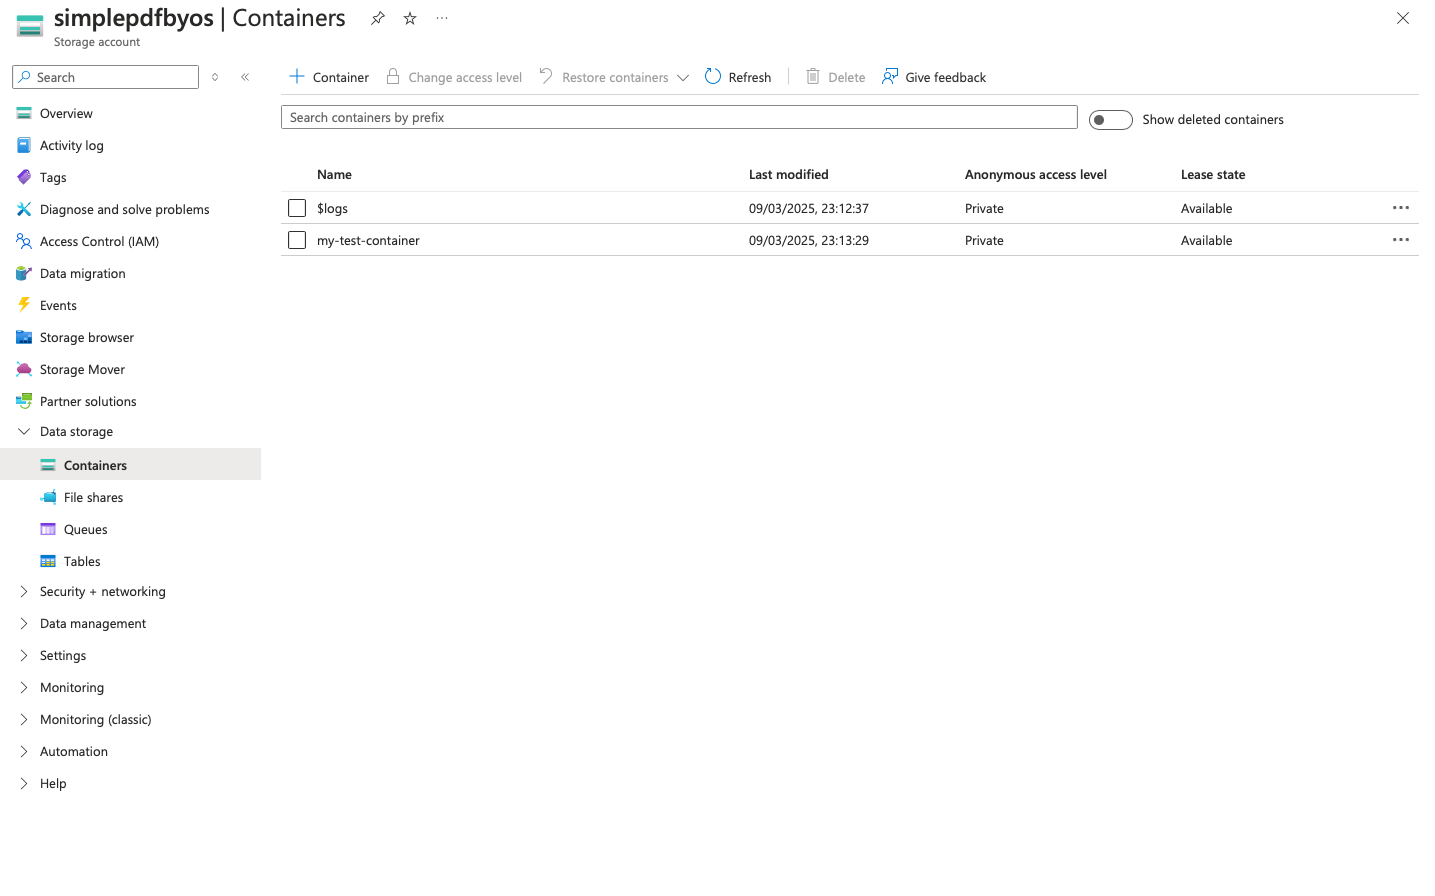
In order to store documents on your Azure Blob Storage, we need to configure a container on your storage account to receive these documents.
- Create (or choose) a
container
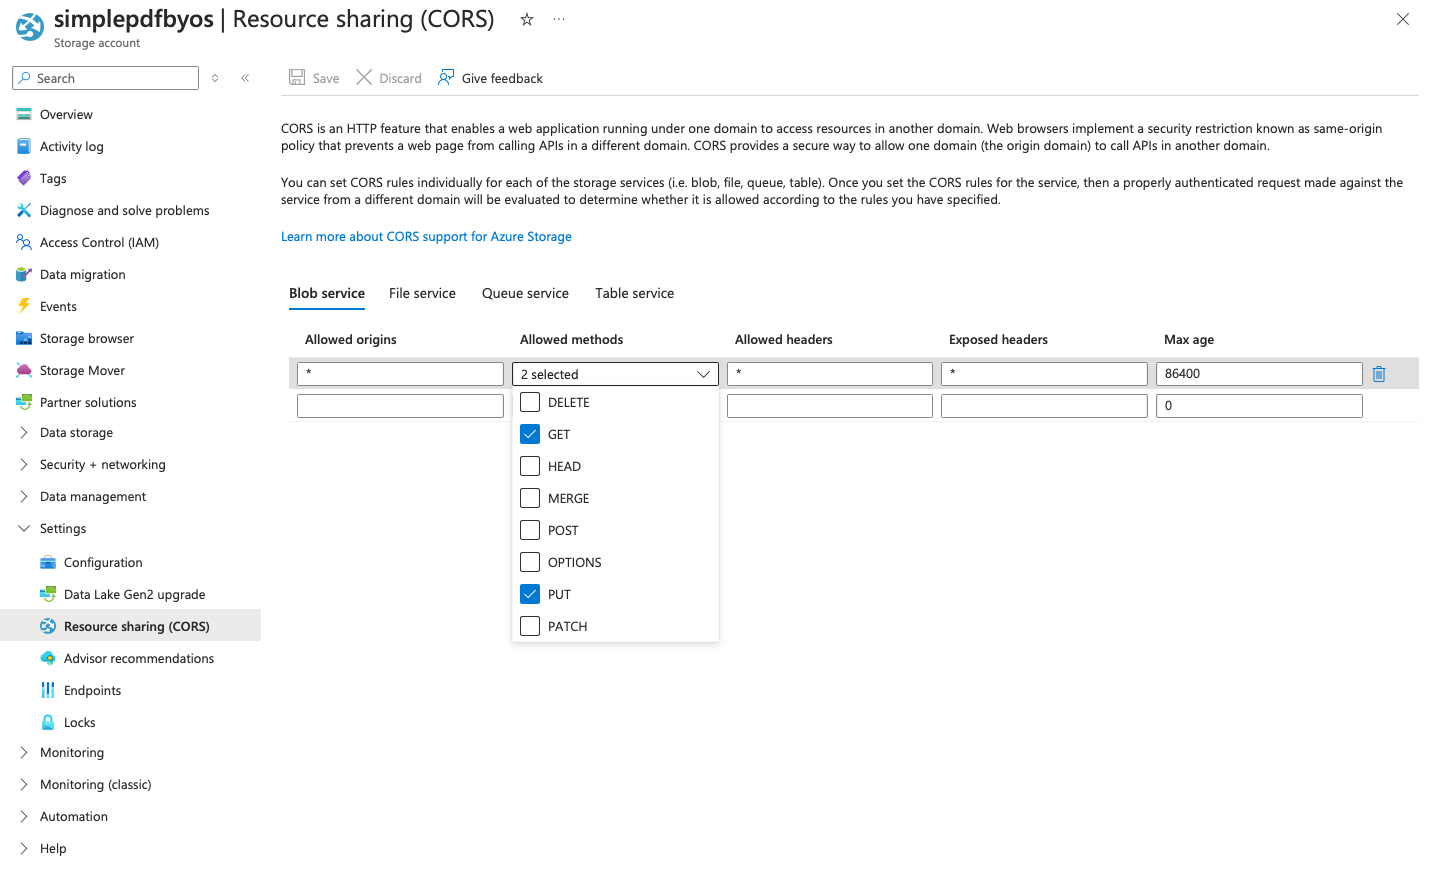
- Update the CORS configuration to allow both
GETandPUTfrom*origins.
You can narrow it down to your own company portal if do not want to grant * origins: https://your_identifier.simplepdf.com
- Depending on your preferred way of authentication, you can either use Access Keys or SAS authentication
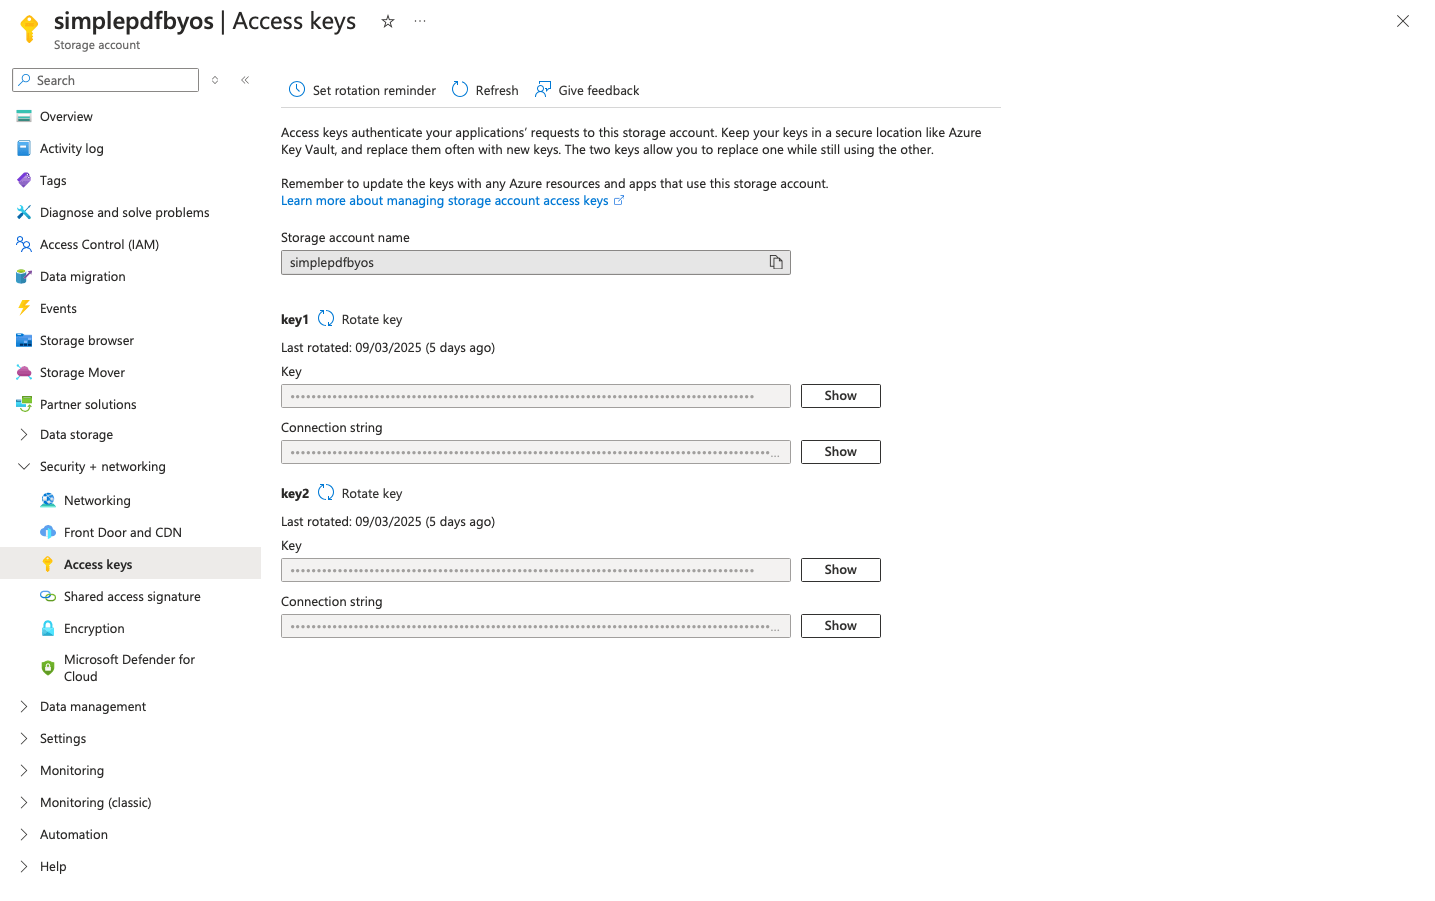
Access Keys authentication: retrieve the Access Keys for this container in the Security + Networking > Access keys view of the storage account
SAS Token authentication: generate the SAS token to access the content of that container in the Settings > Shared access tokens view of the container.
We recommend you specify an expiration far in the future to avoid disruption of service: SimplePDF will not warn you about the expiry of the token.
Select the
read,writeanddeletepermissions as visible in the screenshot below.
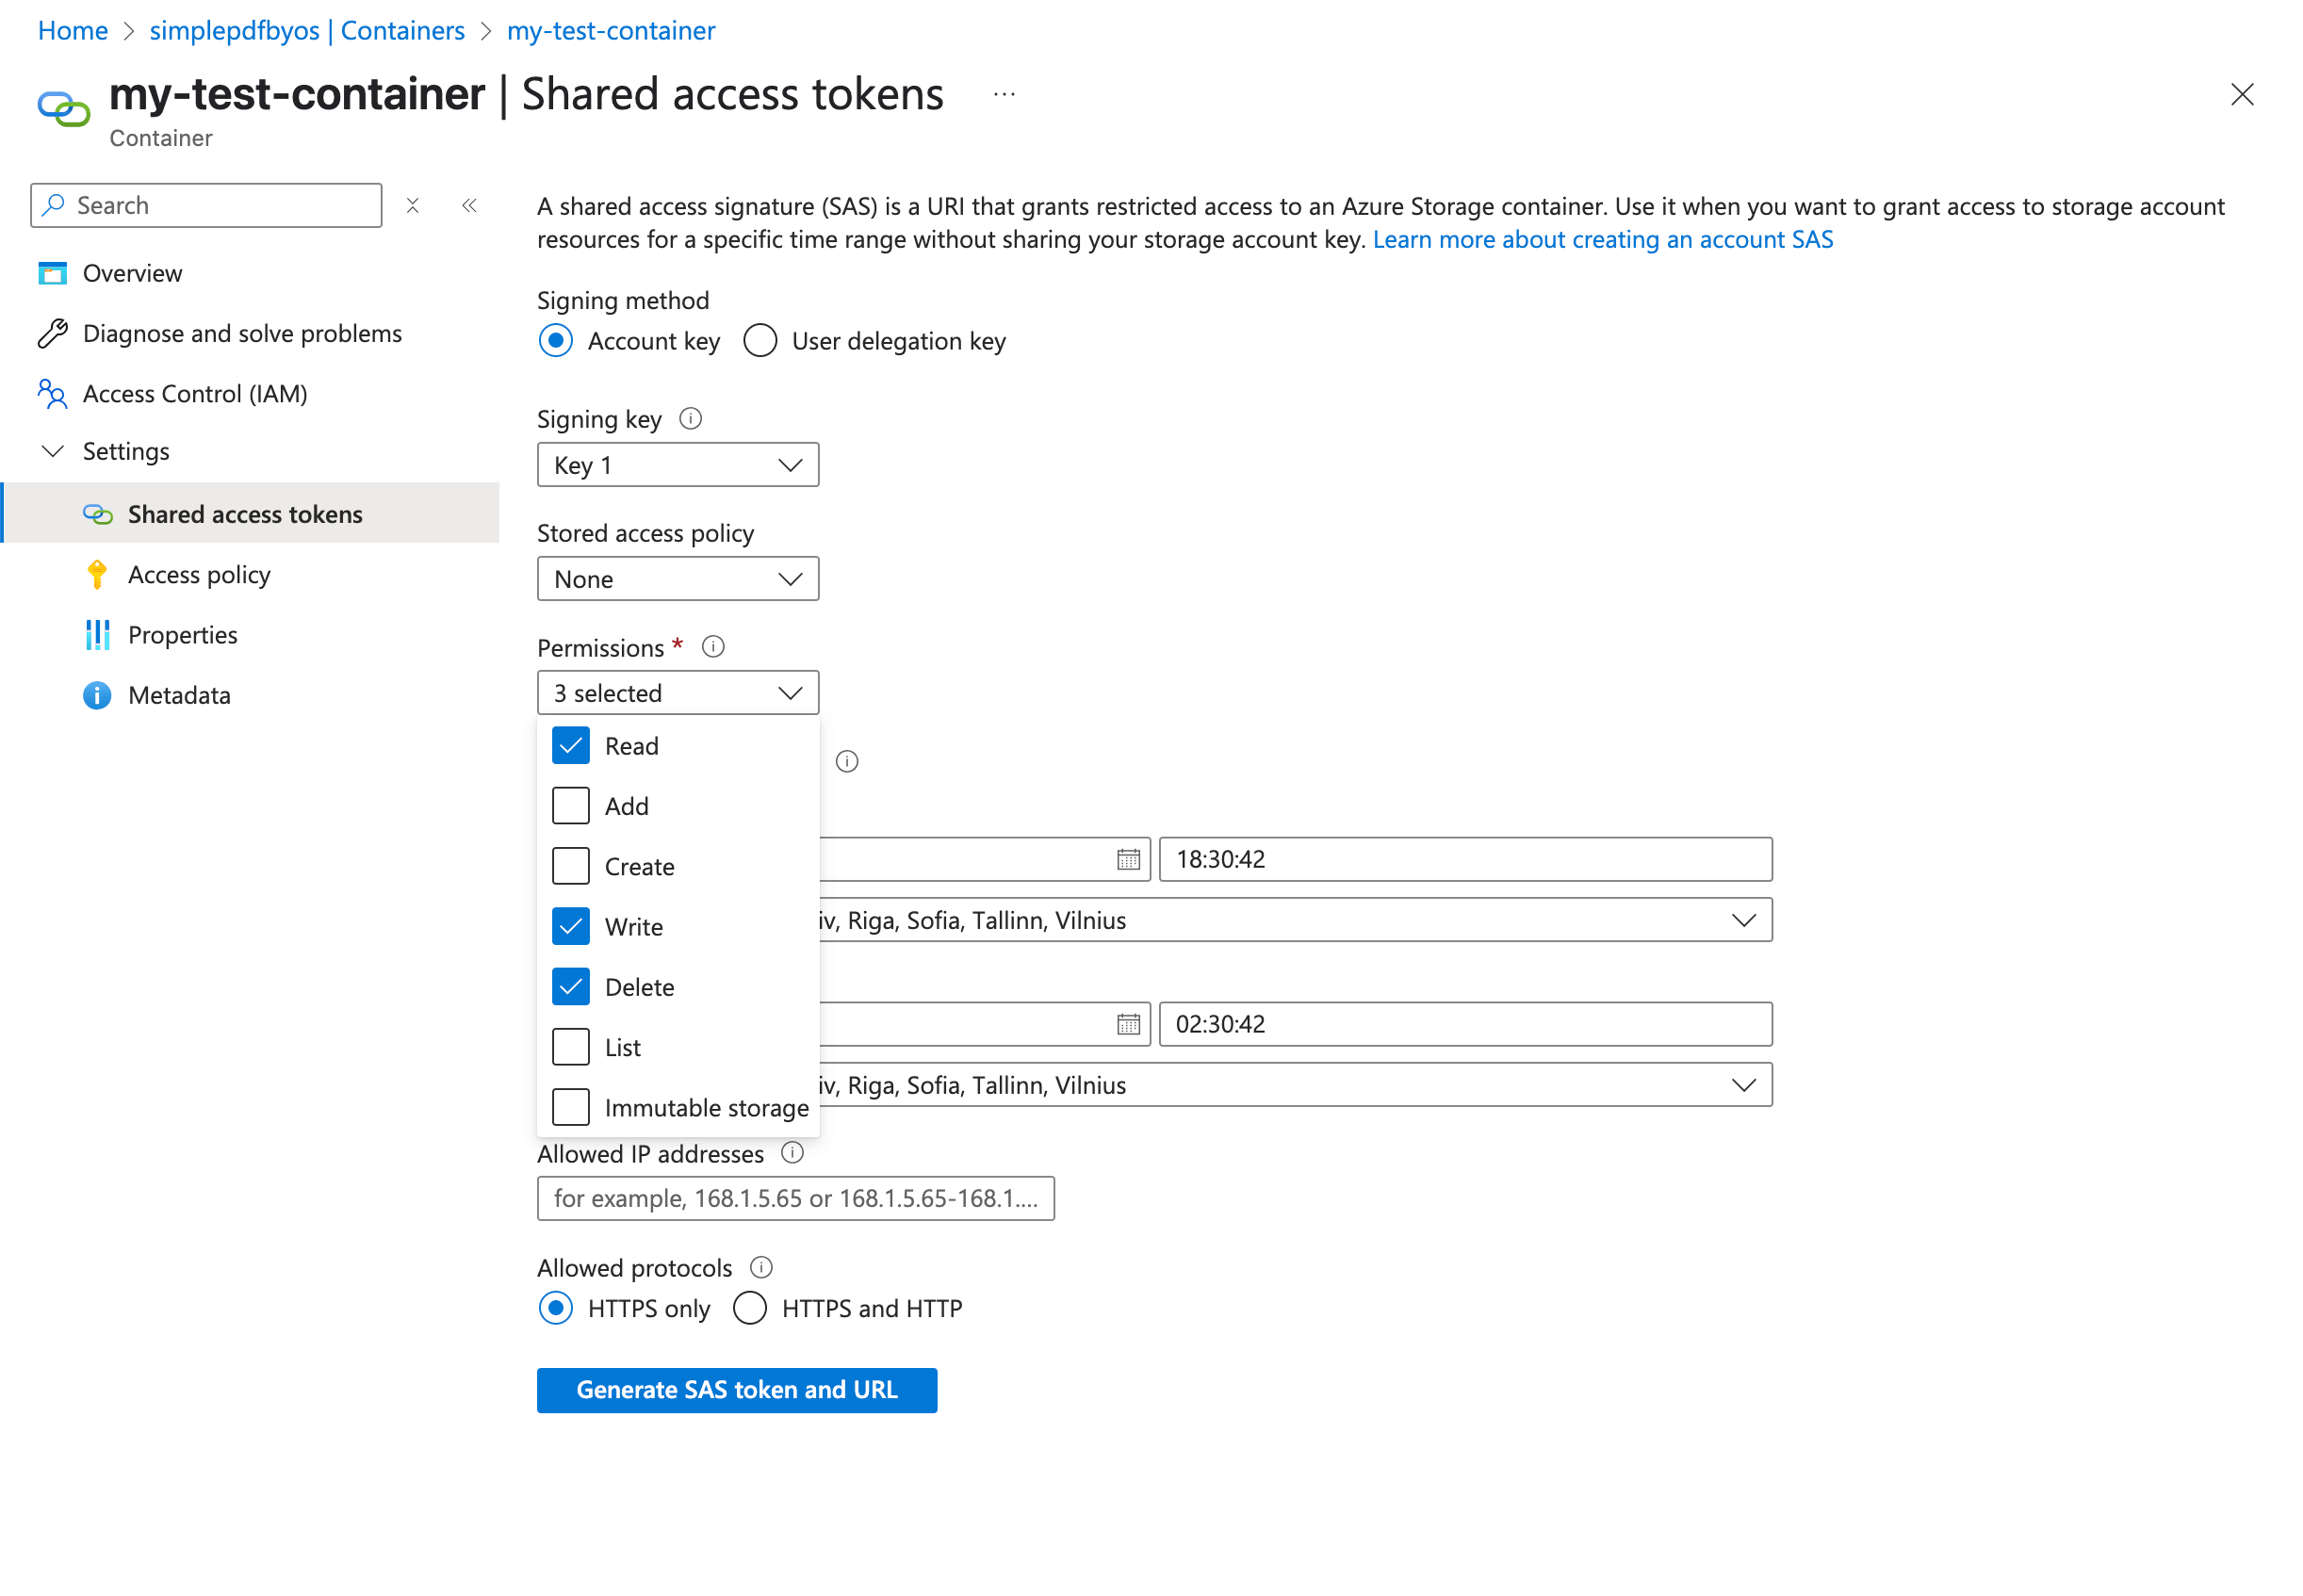
If you wish to grant only
write(anddelete) access, untick thereadpermission.
In SimplePDF
- Log in to your account
- Navigate to the account settings view:
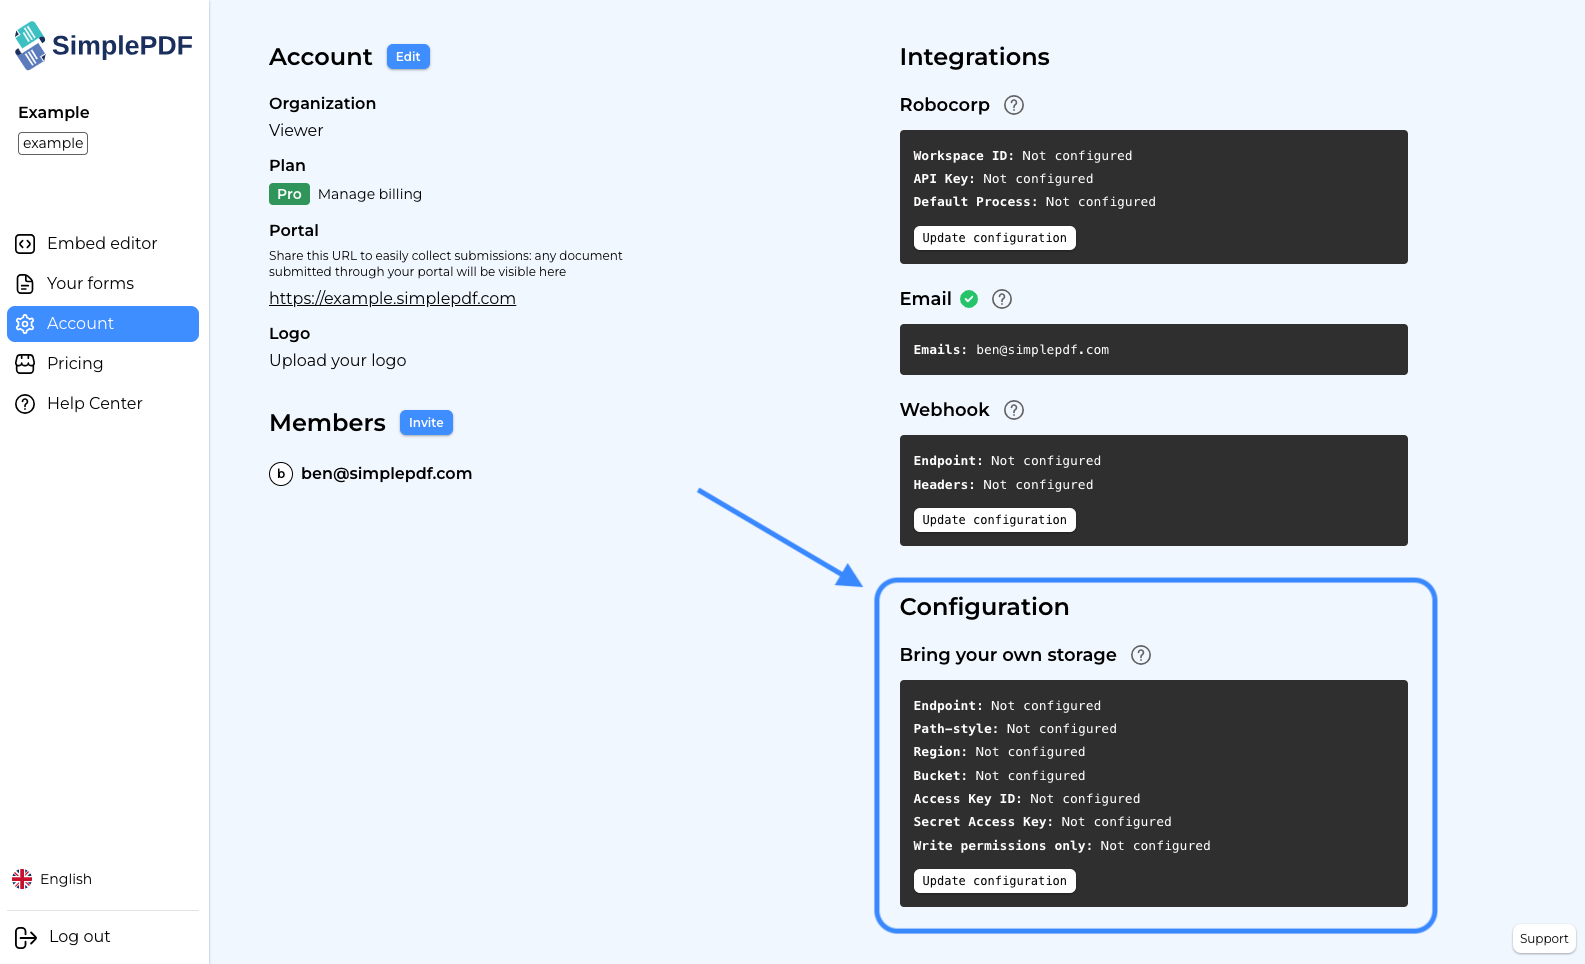
-
Click
Update configuration -
Select the Credentials type and fill in the details:
Endpoint: https://<YOUR_STORAGE_ACCOUNT_NAME>.blob.core.windows.net
Container: name of your container
Account Name: name of your account. This should match the account name value used in the endpoint above. You can find it in the Access Credentials view on Azure.
Credentials type: Access Keys
Account Key: retrieved from the Access Key view on Azure as described in the step 3 of this article.
Credentials type: SAS Token
SAS Token: retrieved from the Shared access tokens view on Azure as described in the step 3 of this article.
Write permissions only: tick this box if you do not wish SimplePDF to be able to read the documents on your account, coupled with only defining
write(anddelete) permissions on your Azure Storage account, as described in the step 3 of this article.
- Select
Azure Blob Storageas storage type and enter your Azure Blob Storage details:
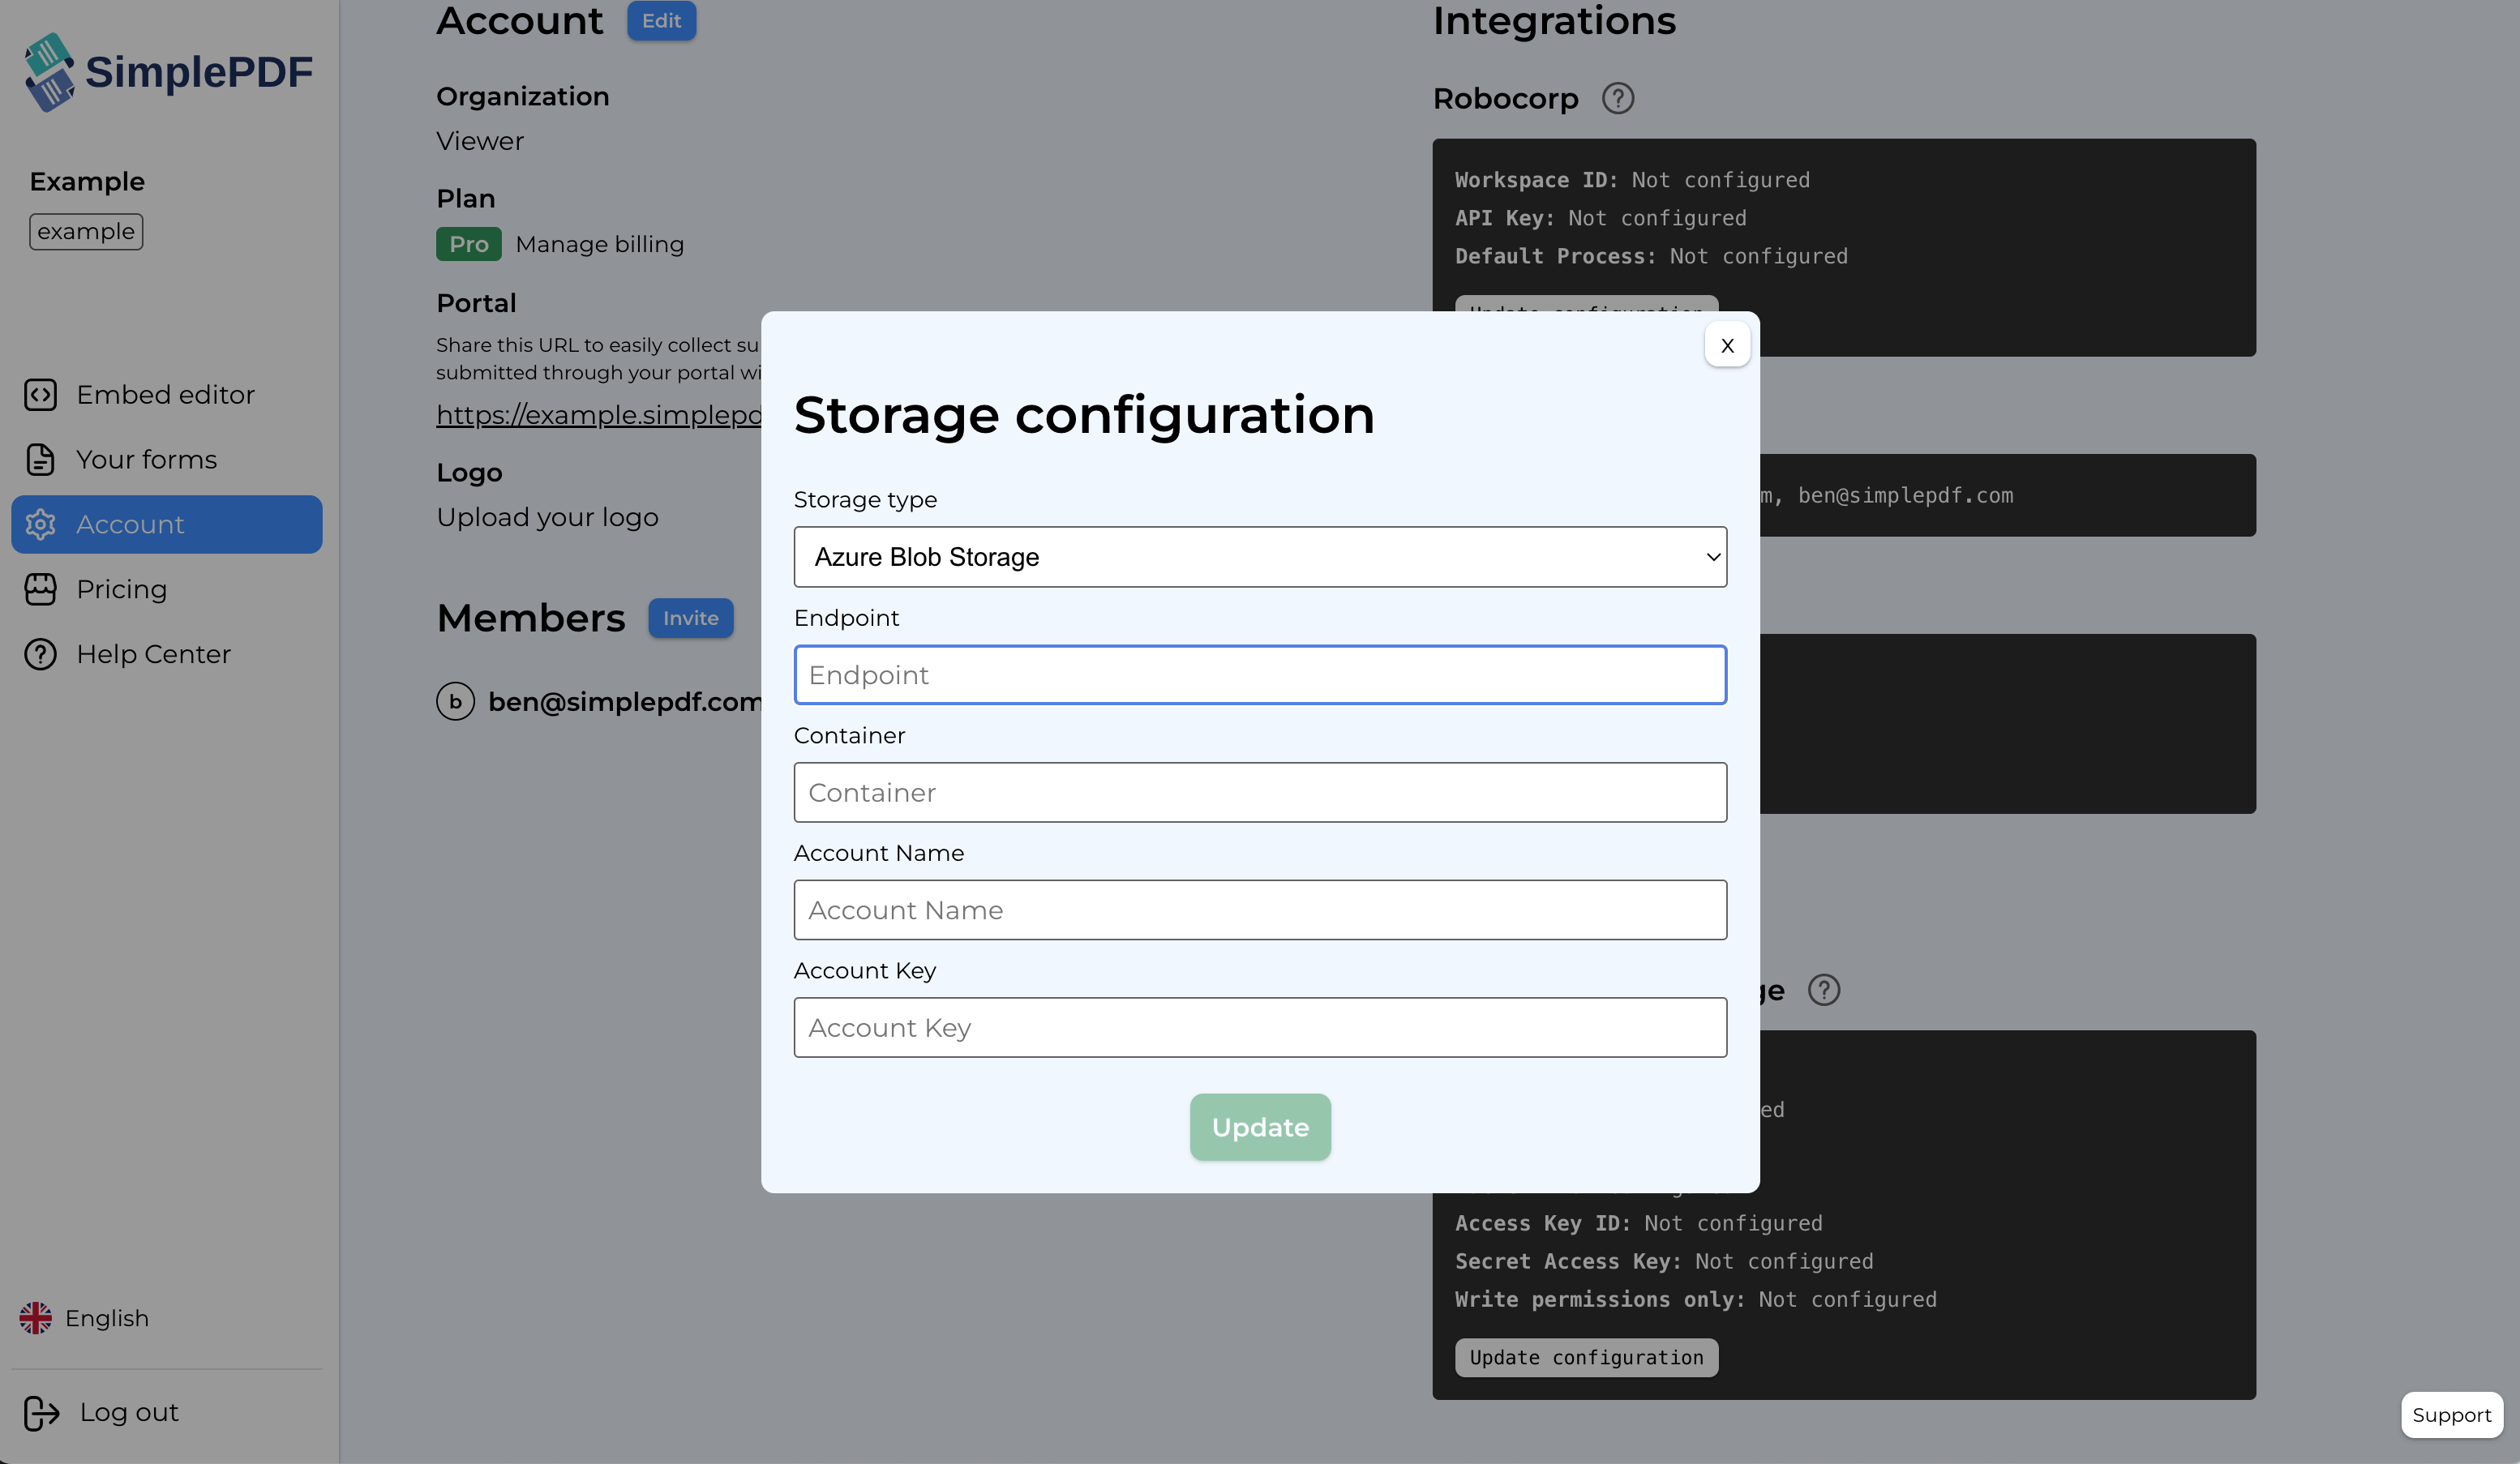
- Click
Update
That's it! Your documents and submissions are now automatically stored in your own Azure Blob Storage container!
If you have any questions, feel free to reach out to support@simplepdf.com
You may also be interested in
- Add required fields on PDF forms
- Customize the editor and add your own branding
- Customize the submission confirmation
- Save edited PDF submissions to Supabase
- Get email notifications on PDF form submissions
- Organize documents with tags
- Configure your own S3 bucket for PDF form submissions
- Configure Webhooks to get notified of new PDF form submissions
- Save the PDF submissions to your Bubble Database using Bubble workflows
- Connect SimplePDF with Activepieces to automate your PDF forms processing
- Use the Robocorp integration to leverage AI in your IDP workflow
- Add the embed PDF editor to a Next.js App
- View and edit PDF in Excalidraw